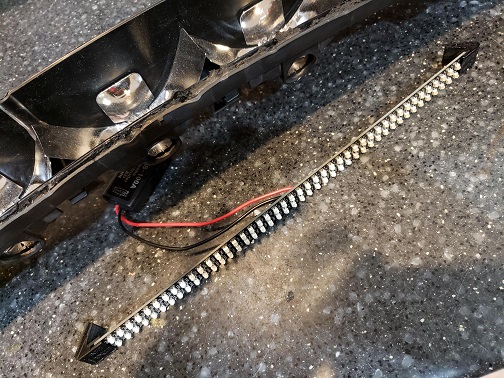
Tools needed:
- Oven that the Trim can fit in
- Small/medium head Phillips screw driverSmall and thin Flat Head screwdrivers OR some kind of Flat pry sticks(Two will help in opening)
- Rag or towel to prevent scuffing the lens on hard surfaces
- Heat Gun (Oven is fine to open & close, but I recommend using heatgun to reseal tailsOven mits or something to help hold the hot tail light)
Step 1:
- Heat your oven up to 225 Degrees Fahrenheit.
- Remove the Screws on the back perimeter and the metal mounting bracket with nuts.
Step 2:
- Place one tail in the oven and wait 10 minutes. This will soften the sealant glue so it will be plyable.
- Once thoroughly heated up. Use an oven mit or something to Pull the center trim out of the oven.
- Place it on the towel so it doesn’t get scratched by hard surfaces.
- Start Prying from the either outer edge of the the trim. The bottom seems to be easier to work out. The top may require some prying my hand.
- Slowly work the rear trim away from the lens starting from the outside. Once you get a about 1/3rd of the way. Switch to the other side.
- Now the center should be the only part holding it on. Don’t forget to put it back in the oven to keep the glue loose. Pry as much as you can on the black backside plastic. It can bend and deform.
Step 3:
- Pull off the front lens and the internal red lens. It should pop right out. You will not be putting it back in.
Step 4:
- Using the OEM reflector bowls. Place the Circuit board in the rear housing.
- While semi loose. find a place to afix/glue the flasher module. I apply it to the center bowl area.
- Run the bulb socket adapter through the easiest connector hole in the tail.
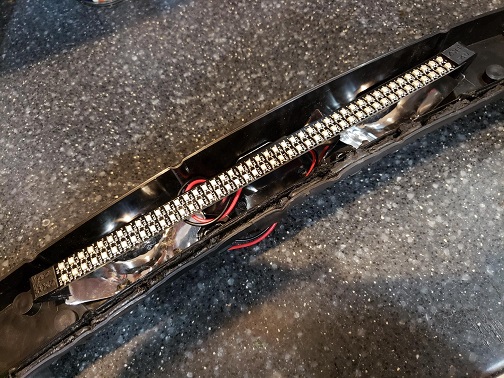
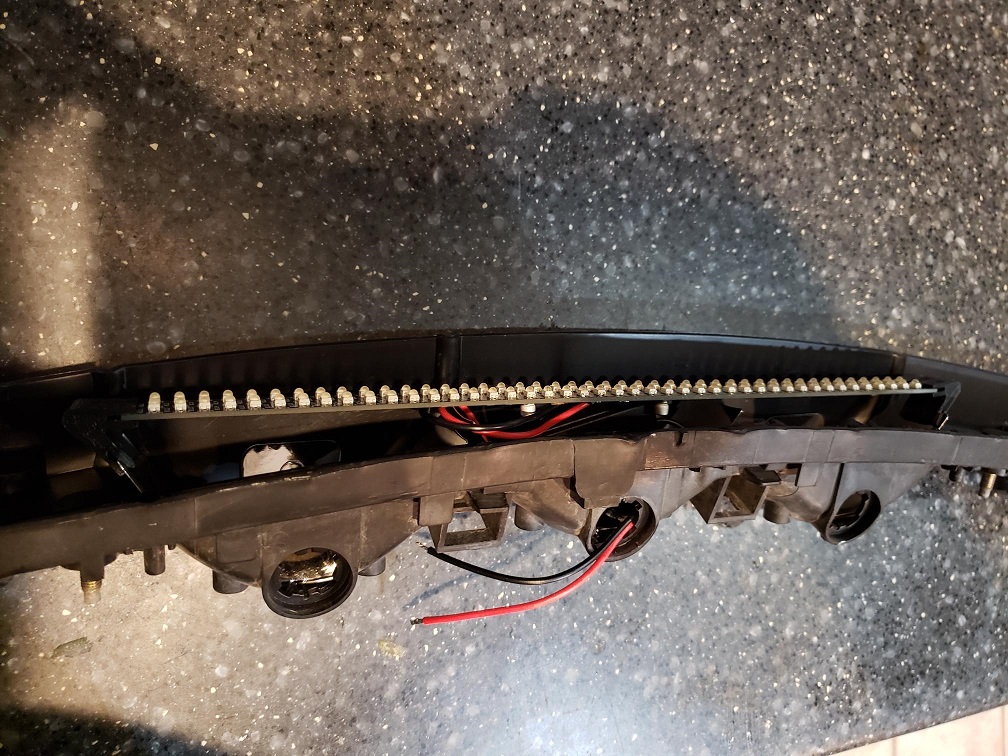
- The circuit board is not going to center top to bottom as the OEM tail actually has the viewing port higher up.
- The side plastic pieces will slide over the metal reflector bowls to help fix them in place.
- Make sure it is as high up on the housing as possible so it is viewable through the lens.
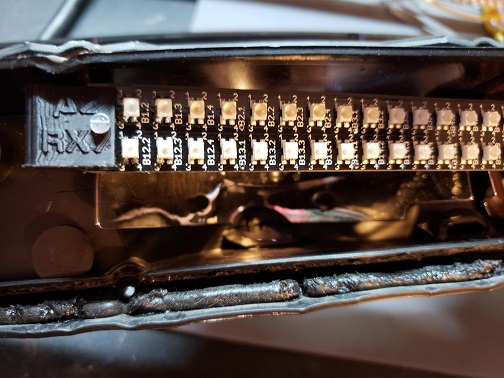
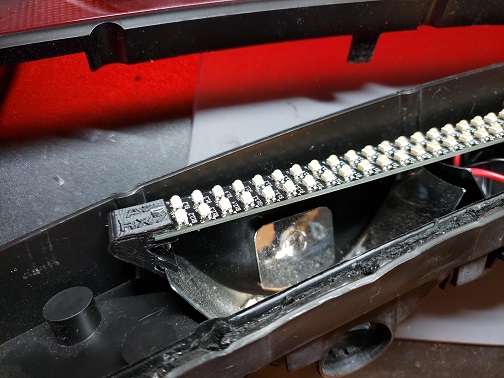
- Use some epoxy or glue to hold the plastic connectors to the bowl to prevent vibrations from knocking it loose.
Step 5:
- Place the lens over the trim to make sure you’ve aligned the board correctly.
- If it looks correct, then try and place the lens over the trim in it’s original location and then put back in oven for 5 minutes.
- take out of oven and apply pressure to squeeze the two parts back together.
- Install the screws as you go to keep the lens from pulling apart.
- I recommend you start from one side and work your way to to the other to prevent binding.
